Guest post: Underrated Activities That Promote Whole Health

Picture1

Underrated Activities That Promote Whole Health

By Brad Krause

Eat breakfast, don’t drink too much, smile and be happy — these are pretty basic aspects of a healthy lifestyle. But if this is all you are doing, you are seriously missing out. There are many ways to cater to your self-care needs. From the ancient practice of bath therapy to modern-day motivators, the following are a few of the most under-appreciated ways to live your best life.


Take a Warm Bath

The ancient Romans provided public bathhouses, and it wasn’t to ensure proper hygiene. Bathhouses were considered meeting places, but they also provided heat, warmth, and relaxation. Traditional Medicinals explains that bath therapy, also known as balneotherapy, is used to relax muscles and promote skin health. A warm bath in the afternoon is a great way to center your thoughts and settle in for another important aspect of self-care: sleep.


Go to Bed Early

Sleep is good for you for many reasons. It allows your body to recover from daily trauma and gives your mind an outlet to process the billions of bits of information that were thrown at you during the day. Make a conscious effort to get eight hours of sleep every night, and you will quickly realize that you have more energy, less stress, and feel better overall.


Exercise


It’s no secret that physical activity is crucial for your health. However, it is important to note that you don’t have to conform to a specific exercise program to reap the benefits. You also do not have to be 25 and in the best shape of your life to work out. In fact, seniors benefit just as much — and probably more so — than their recent-college-grad counterparts. No matter your age, you can get regular exercise by attending workout classes at a local facility, setting up a workout space at home, or simply doing things that would make you more active during the day like going for a walk or taking the stairs to work.


Track Your Activities

Exercising occasionally is not enough. One of the biggest benefits of working out is that it can help reduce the effects of stress. Keep yourself motivated to move by tracking your daily activities. For example, the Apple Watch Series 4 is great for seniors since it includes a built-in heart rate monitor. Of course, if you don’t want to spend several hundred dollars on a fitness tracker, Digital Trends lists several models that are less than $100, including the Withings Move, which looks more like a tradition analog timepiece.


Try Acupuncture

Acupuncture is not a new-age treatment. This ancient practice predates modern medicine by hundreds of years. A non-invasive healing treatment, acupuncture — especially when combined with Chinese medicine and herbs — can help you with issues such as constipation and bronchitis. Acupuncture also offers emotional relief for insomnia, stress, and depression. Visit a local acupuncturist for your personalized therapy.
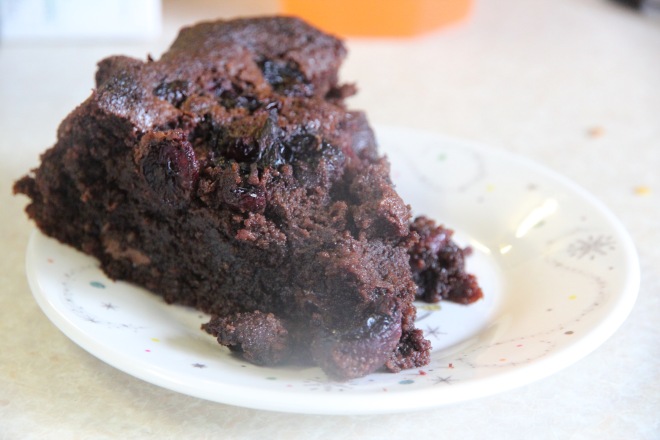
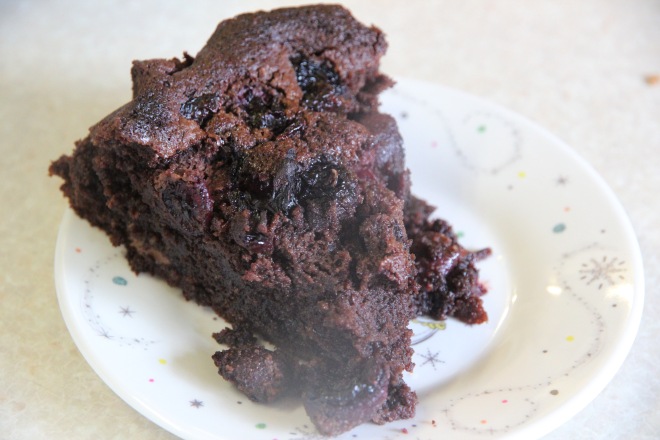
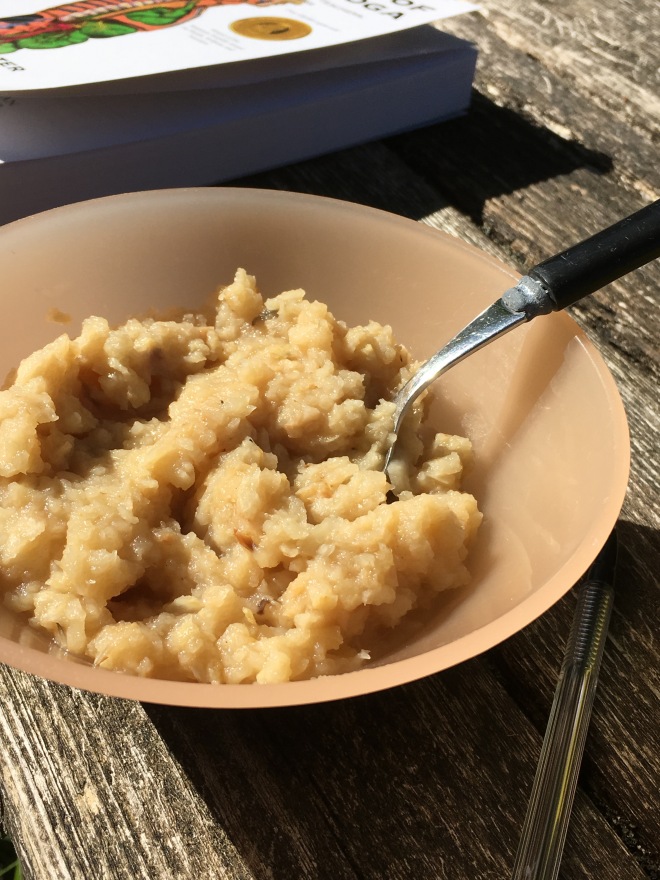
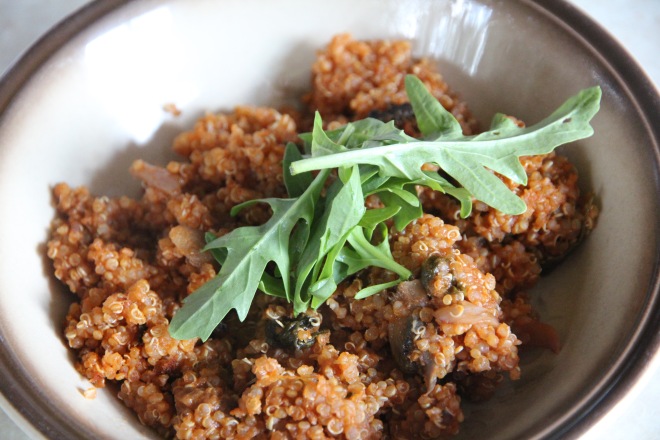
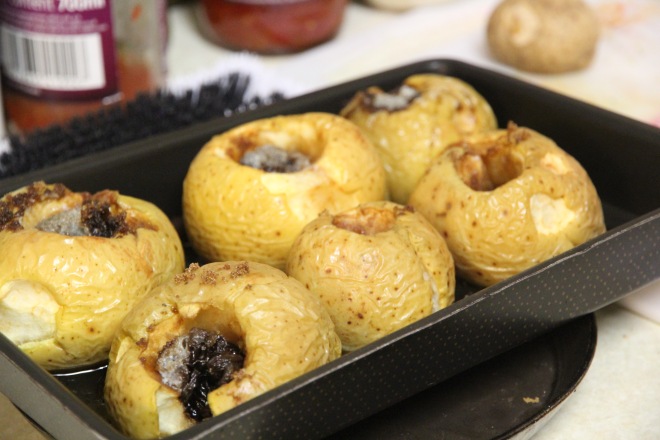
 

Eat for Gut Health

You may be surprised to know that your gut plays a vital role in your overall health, from weight management to your mood levels. That’s because the gut contains many different strains of bacteria, each responsible for specific bodily functions. For example, Bifidobacterium helps to keep your intestines healthy and produces essential vitamins like B12. Meanwhile, L. helveticus and B. longum both act as mood boosters. Keeping a well-balanced environment in your gut will help these bacteria thrive and improve your health. The key is to eat the right foods for your gut and take supplements that promote gut health.
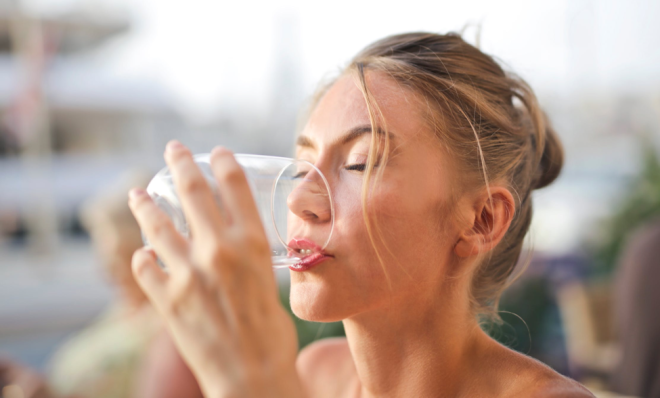
 

Drink More Water

How much water do you drink every day? If you’re like most people, probably nowhere near enough. This is unfortunate because adding a few extra glasses of H2O to your day flushes your kidneys, normalizes bowel function, and can even reduce the risk of cancer. You can add fresh fruit to your glass for a refreshing drink that’s full of flavor if you don’t like plain water.


Everything you do has an effect on your health. From sneaking a 30-minute warm bath to lying down on the acupuncture table, the above ideas are simple, inexpensive, and effective ways to give yourself a boost from the inside out. Try a few or try them all. You won’t regret your decision, and you’ll feel much better for it.


Image via Pexels

May 2019

IMG_9205.jpg

IMG_9209.jpg

IMG_9211.jpgIMG_9221.jpgIMG_9228.jpgIMG_9245.jpgIMG_9254.jpgIMG_9275.jpgIMG_9282.jpgIMG_9287.jpgIMG_9297.jpgIMG_9303.jpgIMG_9306.jpgIMG_9311.jpgIMG_9319.jpgIMG_9324.jpgIMG_9328.jpgIMG_9330.jpgIMG_9331.jpgIMG_9335.jpgIMG_9337.jpgIMG_9338.jpgIMG_9343.jpg

Chocolate Chunk Cherry Cake

It is a little early to be talking about cherries in the UK… a few months early… but it is exciting to see cherries ready on the trees. We might even get some this year instead of the birds. They have already done an excellent job of eating the cherry and plum tree leaves – I had no idea they were that tasty… :/

We were given a bag of cherries from a friend who takes the left overs from a market for her chickens and gives us a huge portion of it to feed little piggy and chooks. Some were on the turn, queue cherry baking time.

IMG_9359.jpg

I’ve got a favourite cherry cake recipe (find it here Cherries) but I was lacking in some ingredients and, to be honest, I wanted chocolate cake 😛

So I trawled the internet to find a chocolate one that had the ingredients we had in the house. I had just enough to make one from https://www.kitchensanctuary.com

It is most definitely not my own creation even though I would love to take credit for it, but it is so delicious that I think the word should be spread. It is a new favourite chocolate cake.

Flourless with ground almonds, fresh cherries, chocolate chunks in a chocolate cake, lovely gooey texture – what is not to like?!

IMG_9368.jpg

Chocolate Chunk Cherry Cake

(Serves 10)

-225g butter, softened -200g granulated sugar -1tsp vanilla extract -4 eggs -200g ground almonds -50g cocoa powder -1tsp baking powder -100g dark chocolate -100g dark or milk chocolate cut into chunks -200g fresh cherries

  1. Preheat oven to 170C. Line a 20cm/9inch deep cake tin with baking parchment.
  2. In a large bowl, beat together the softened butter and the sugar until light and fluffy.
  3. Mix in the vanilla extract and the eggs one at a time until well incorporated into the mixture.
  4. Stir in the ground almonds, cocoa powder and baking powder, mixing well to combine.
  5. Melt 100g of dark chocolate in a heatproof bowl over the hob or in a microwave. Mix into the cake mixture followed by the chunks of unmelted chocolate.
  6. Scrape the contents of the bowl into the prepared baking tin.
  7. Remove the stems from the cherries and cut them open, removing the stones from the centre. Scatter the cherries over the top of the cake’s surface.
  8. Bake in the centre of the oven for about 50 minutes or until a skewer inserted into the centre comes out clean. Leave to cool in the tin before transferring to the wire rack to cool completely. It is also delicious served warm.
  9. When completely cold, store in an airtight container for up to three days.

IMG_9362.jpg

IMG_9371.jpg

IMG_9376.jpg

Recipe: Celeriac Mash

I’ll confess – I was originally making celeriac soup, but it ended up as a sort of mashed potato like variation.

IMG_9059.jpg

With just the addition of some fried onion, salt and pepper, this versatile dish makes an excellent addition to any dinner with lots of veg sides or as a different replacement for mashed potato.

To learn about Celeriac, click here.

Celeriac Mash

(Serves 6-8) 

-2 large celeriacs -one large onion -olive oil -200-400ml boiled water -dash of salt and pepper

  1. Preheat the oven to 200C. Peel the celeriacs and cut them into think pieces. Place them on a non-stick roasting tray, dribble olive oil over the top, and roast in the oven for about 15 minutes, or until just starting to turn crisp. Leave to cool.
  2. Slice the onion and fry in olive oil until golden brown.
  3. In a food processor, add the celeriac and the fried onion. Blitz.
  4. Add a little of the boiling water and blitz again. Continue to add boiling water until you get a mashed potato looking consistency. Add the salt and pepper and blitz again.
  5. Tip the contents of the food processor into a non-stick deep based pan and bring to the boil.
  6. Serve hot or cold.

Tip: why not add some freshly picked herbs? Thyme, oregano, rosemary, coriander, parsley, sage, lemongrass…

Ps. roasted celeriac sliced thinly can make great chips. 

IMG_9061.jpg

Mushroom Quinoa Pot

SO… I never did get quite round to growing my quinoa this year.

I’ve finished uni and am now off to the next training course so the veg patch and blog have been neglected this year. But that does not mean that we can’t dream for the future! Fancy growing your own quinoa? Take a look at one of my oldest blog posts here: Quinoa

Despite not growing it this year, how about a little veggie recipe to inspire you?

IMG_9194.jpg

Mushroom Quinoa Pot

(Serves 2)

-1 large onion, sliced -Olive oil, for frying -450g tomato passata/ sauce -100g quinoa -8 button mushrooms -4 oregano leaves -Sprig of thyme -1tbsp soy sauce -1 1/2tbsp Worcester sauce -Rocket, to serve

  1. Slice the onion and place in a non-stick pan with the olive oil. Fry until golden brown and then add the tomato passata or sauce.
  2. Add the quinoa and bring to the boil.
  3. Cut the mushrooms into fine slices and add, stirring in. Reduce the heat to simmer and cover with a lid. Leave for approximately ten minutes, stirring occasionally, or until the quinoa has cooked and absorbed some of the tomato sauce.
  4. Tear up the oregano and thyme and stir in followed by the soy sauce and Worcester sauce. Leave to simmer for another few minutes.
  5. Remove from the heat and serve along with fresh rocket.

IMG_9197.jpg

First salad of 2019 harvested & recipe

Picked our first spinach, rocket and crinkled cress yesterday.

Yummy and fresh.

IMG_9201.jpg

Now they may look like they are on top of a pile of goo – and it is a pile of goo – but it is very good goo which is meant to look prettier but I cooked it for too long. It is meant to look like this:

info_uploads_what-is-kitchari-main_700x247_1551921622
(From Banyan Botanicals Website — thank you)

It is kitchari – a traditional Ayurvedic recipe which is meant to be gentle and nourishing for the digestive system. Kitchari, which literally means mixture, is a blend of rice and usually spilt lentils with spices and an assortment of vegetables of choice. A one-pot dish, kitchari originates from Asia and has references dating back thousands of years. The use of spices and vegetables can produce balancing effects for the three bodily dosas in Ayurvedic medicine. Rice and mung dal together create a balanced food that is a good protein combination and is tridoshic. This complete food is easy to digest and gives strength and vitality and nourishes all the tissues of the body.

There are many different recipes with variations and this is just one recipe that I have tried from Banyan Botanicals. It is surprisingly quick and easy to prepare. It can be frozen if needed but best eaten fresh.

Kitchari 

(Serves 4)

  • 1/2cup yellow mung dal
  • 1 cup rice
  • 2tbsp ghee/ coconut oil
  • 1tsp black mustard seeds
  • 1tsp cumin seeds
  • 1 small pinch of asafoetida (hing) powder
  • 1tsp turmeric powder
  • 1tsp coriander powder
  • 4 thin slices fresh root ginger
  • 6 cups of water
  • 1-2 cups of vegetables (e.g. sweet potato, courgettes (zucchini), squash, celery, carrot, beetroot etc.) cut into small bite-sized pieces
  • Fresh herbs to top, optional
  1. Soak the dal overnight in water. Drain.
  2. In a non-stick pan, warm the ghee/coconut oil. Add all of the spices an sauté for a minute or two. Add the rice and dal and sauté like a pilau for a couple more minutes. Add 6 cups of water and bring to the boil.
  3. Cover and allow to simmer for about 30 minutes until the rice and dal is cooked.
  4. Add the vegetables half way through the cooking process, stir and allow to slowly cook for the remaining time.
  5. Add more water if needed. From Banyan Botanicals: Typically, kitchari is the consistency of a vegetable stew as opposed to a broth. A thinner consistency is preferable if your digestion is weak. You will notice that kitchari will thicken when it cools and you may need more water than you originally thought.

A good vegetable stew that can us homegrown produce. Enjoy!

IMG_9202.jpg

https://www.banyanbotanicals.com/info/ayurvedic-living/living-ayurveda/diet/how-to-make-kitchari/

https://www.ayurveda.com/recipes/kitchari


Blueberry Oats

Some nice little berry biscuit treats. Very simple, only uses three ingredients, vegetarian/gluten/vegan friendly. Cooked blueberries are surprisingly delicious…

IMG_8978.jpg

Blueberry Oats

-4 medium sized ripe bananas -1-3cups of porridge oats -1 cup of blueberries

  1. Preheat the oven to 200C. Line a square tray with baking parchment.
  2. Mash the bananas in a bowl.
  3. Stir in the oats with a fork, a cup at a time, until the oats seem to have absorbed the banana. The mixture should cling together, like a biscuit mixture, and be a little sticky. Be careful not to overdo it with the oats so that it is too dry.
  4. Stir in the blueberries.
  5. Scrape the contents of the bowl onto the prepared tray. Using the fork, press down onto the mixture, smoothing it out over the surface of the tray. You want it to be thinnish and flat. Think flapjacks.
  6. Cut the flattened mixture into squares before placing in the centre of the oven and cooking for about 10-15 minutes, or until the oats are golden brown and the blueberries are cooked.
  7. Leave to cool on a wire rack. Store in an airtight container in the fridge.

IMG_8979.jpg

IMG_8981.jpg

Blueberry Lemon Cake

Come on summer…

IMG_8968.jpg

IMG_8969.jpg

Blueberry Lemon Cake

-225g granulated sugar -2tbsp lemon juice -180g plain flour -2tsp baking powder -Pinch of salt – 1/2 cup of milk -1/2tsp vanilla essence -3 large eggs -1tbsp lemon juice -1/2 cup vegetable oil -300g blueberries -1/4tsp plain flour

  1. Preheat the oven to 180C. Line a 20cm/9inch deep circular baking tin with baking parchment.
  2. Mix the sugar and the lemon juice together. Mix in the flour, baking powder and salt.
  3. Mix in the milk along with the vanilla essence. Then mix in the eggs, followed by the lemon juice and the vegetable oil.
  4. When it has mixed well, add the blueberries with the 1/4tsp of plain flour and gently mix in.
  5. Scrape into the baking tin and bake in the centre of the oven for approximately 1hr or until a skewer inserted into the centre comes out clean.
  6. Leave on a wire rack to cool in the tin before turning out the cake onto the wire rack to cool completely. Store in an airtight container in the refrigerator.

IMG_8972.jpg

IMG_8970.jpg

Harvesting in January

So I have a confession…

I have not worked in the vegetable garden at all this Christmas break.

I know, very bad. But I was juggling work, university work and working in the pig run to prevent it from resembling the battle of the Somme over winter. Those are my only excuses.

Despite my lack of care, the garden has looked after itself pretty well (the grass is thriving in all of the beds it should not be in…)

It has been so long since I worked over there regularly that I had actually forgotten what I still had planted and left to harvest. I had forgotten the kale, the rest of the sprouts and carrots, the tree cabbage… all I thought we had left were potatoes. So I made a big effort and harvested and prepared lots of our produce during the week.

IMG_8885.jpg

Carrots: these are the last of the carrots sown this year. They were under horticultural fleece and managed to survive some of the freezing temperatures we had suddenly. Not one has rotted so thank goodness we are on sandy soil. They were delicious and not a lot of damage or forking going on. We even had one gorgeous proper sized carrot!

IMG_8883.jpg

IMG_8879.jpg

Think they are ‘Flyaway’ carrots.

Celeriac: first homegrown celeriac harvested from this crop. I know, lazy. But it was in really good condition, a good size, and tasted really good. I like to boil mine but roasting them makes an excellent replacement/accompaniment to roasted parsnips as they apparently taste the same. I have also eaten it raw, grated with apple, in a salad and that is surprisingly good too.

IMG_8876.jpg

Brussel Sprouts – the left over small ones from Christmas finished up. They did really well and packed a punch to the taste-buds.

Kale – the kale is still alive and doing pretty well despite the various slug/pigeon/ cabbage white attacks it had this year. I do love kale boiled and it goes great in stews, on top of pizzas, in casseroles or stir fries. Kale is brilliant because it fills in the cold ‘hungry gap’ aka, winter, when most other things aren’t available.

IMG_8887.jpg

Garlic – I sneak up a bulb every time I need it. Garlic is still prolific in our garden from years of growing it.

Potatoes – Too. Many. Luckily, they taste really good and are in pretty good condition.

All of this dinner was homegrown, except the lentils. Self-sufficient and proud of my little garden for doing so well all on its own.

IMG_8894.jpg

Mum’s Baked Apples

Happy New year everyone!

img_1737

Here is a little winter/autumn warming treat to see you through January and February, and a great way of using apples left over in storage from the harvest of 2018.

IMG_8841.jpg

Mum’s Baked Apples

Serves 6

-6 large baking apples -3/4 cup dark brown sugar -1/2 cup raisins -1/2tsp ground cinnamon -1/4tsp grated nutmeg -1tbsp butter

  1. Preheat the oven to 180C.
  2. Wash and core apples, then remove a 1-inch strip of peel around the middle of each. Arrange the apples in a baking dish, 2-quart shallow.
  3. Combine the brown sugar, raisins, cinnamon, and nutmeg in a small bowl. Carefully fill the center of each apple and dot with 1/2tsp of butter.
  4. Add just enough water to the baking dish to cover the bottom. Bake, uncovered, for 45-60 minutes, or until the apples are tender (larger ones will take longer). Baste the apples with the juices occasionally.
  5. Serve the apples warm. Left-overs can be stored in an airtight container in the fridge.

IMG_8844.jpg